Help Center

How do I set up my art files? What are your File Specifications?+
File Specifications:
  • Flatten all Objects/Gradients/Swatches/Symbols/Special Effects/Transparencies
  • Outline all text
  • Flattened PDF (Single Page) or JPEG file types only
  • Remove all crop marks/bleed otherwise they will be printed
  • File must be the same exact size as what is ordered (exception is Gallery wrap Fold Edge and Products with templates)
  • CMYK only (we do not print Pantone/5th/Spot/RGB)
  • 150 dpi
  • If using a template, the file uploaded to our site should match the exact "template size" (different than "graphic size").
  • Do not scale template files, just flatten them and save at 150 dpi
  • Files over 200" can be scaled
  • Under 300 mb for upload ***Remove EVERYTHING from your file that you do not want printed on the final product - especially hidden layers and template guidelines.

  • Make sure all objects are embedded and flattened (we do not print Non-Native Art).

  • If the file is made in Indesign, please flatten the file in Illustrator or Photoshop and export to a JPEG ONLY as we don't recommend using Indesign at our facility.
  • If using Compound Paths to create transparencies/shapes, please completely rasterize or flatten them into the file or they may print incorrectly.

  • We do not have specific measurements for Panel jobs. If you are printing in Panels, please make sure you are providing a minimum of 1" overlay in your files.

Template set up (general directions):
  • Design on a layer on top of our template
  • Once the design is made, delete the entire layer that includes the blue space/text/guidelines we provide or else they will be printed
  • Flatten all objects/transparencies/gradients/swatches and outline all text
  • Save the file as a flattened PDF or JPEG full size at 150 dpi
  • The size of the file uploaded to the website should be exactly the same size as the template was provided, including the artboard (white) space in the file

  • Our template is used as a guide or reference to show general placement of logos/graphic elements

  • We print on white material, if you leave an area blank it will print white
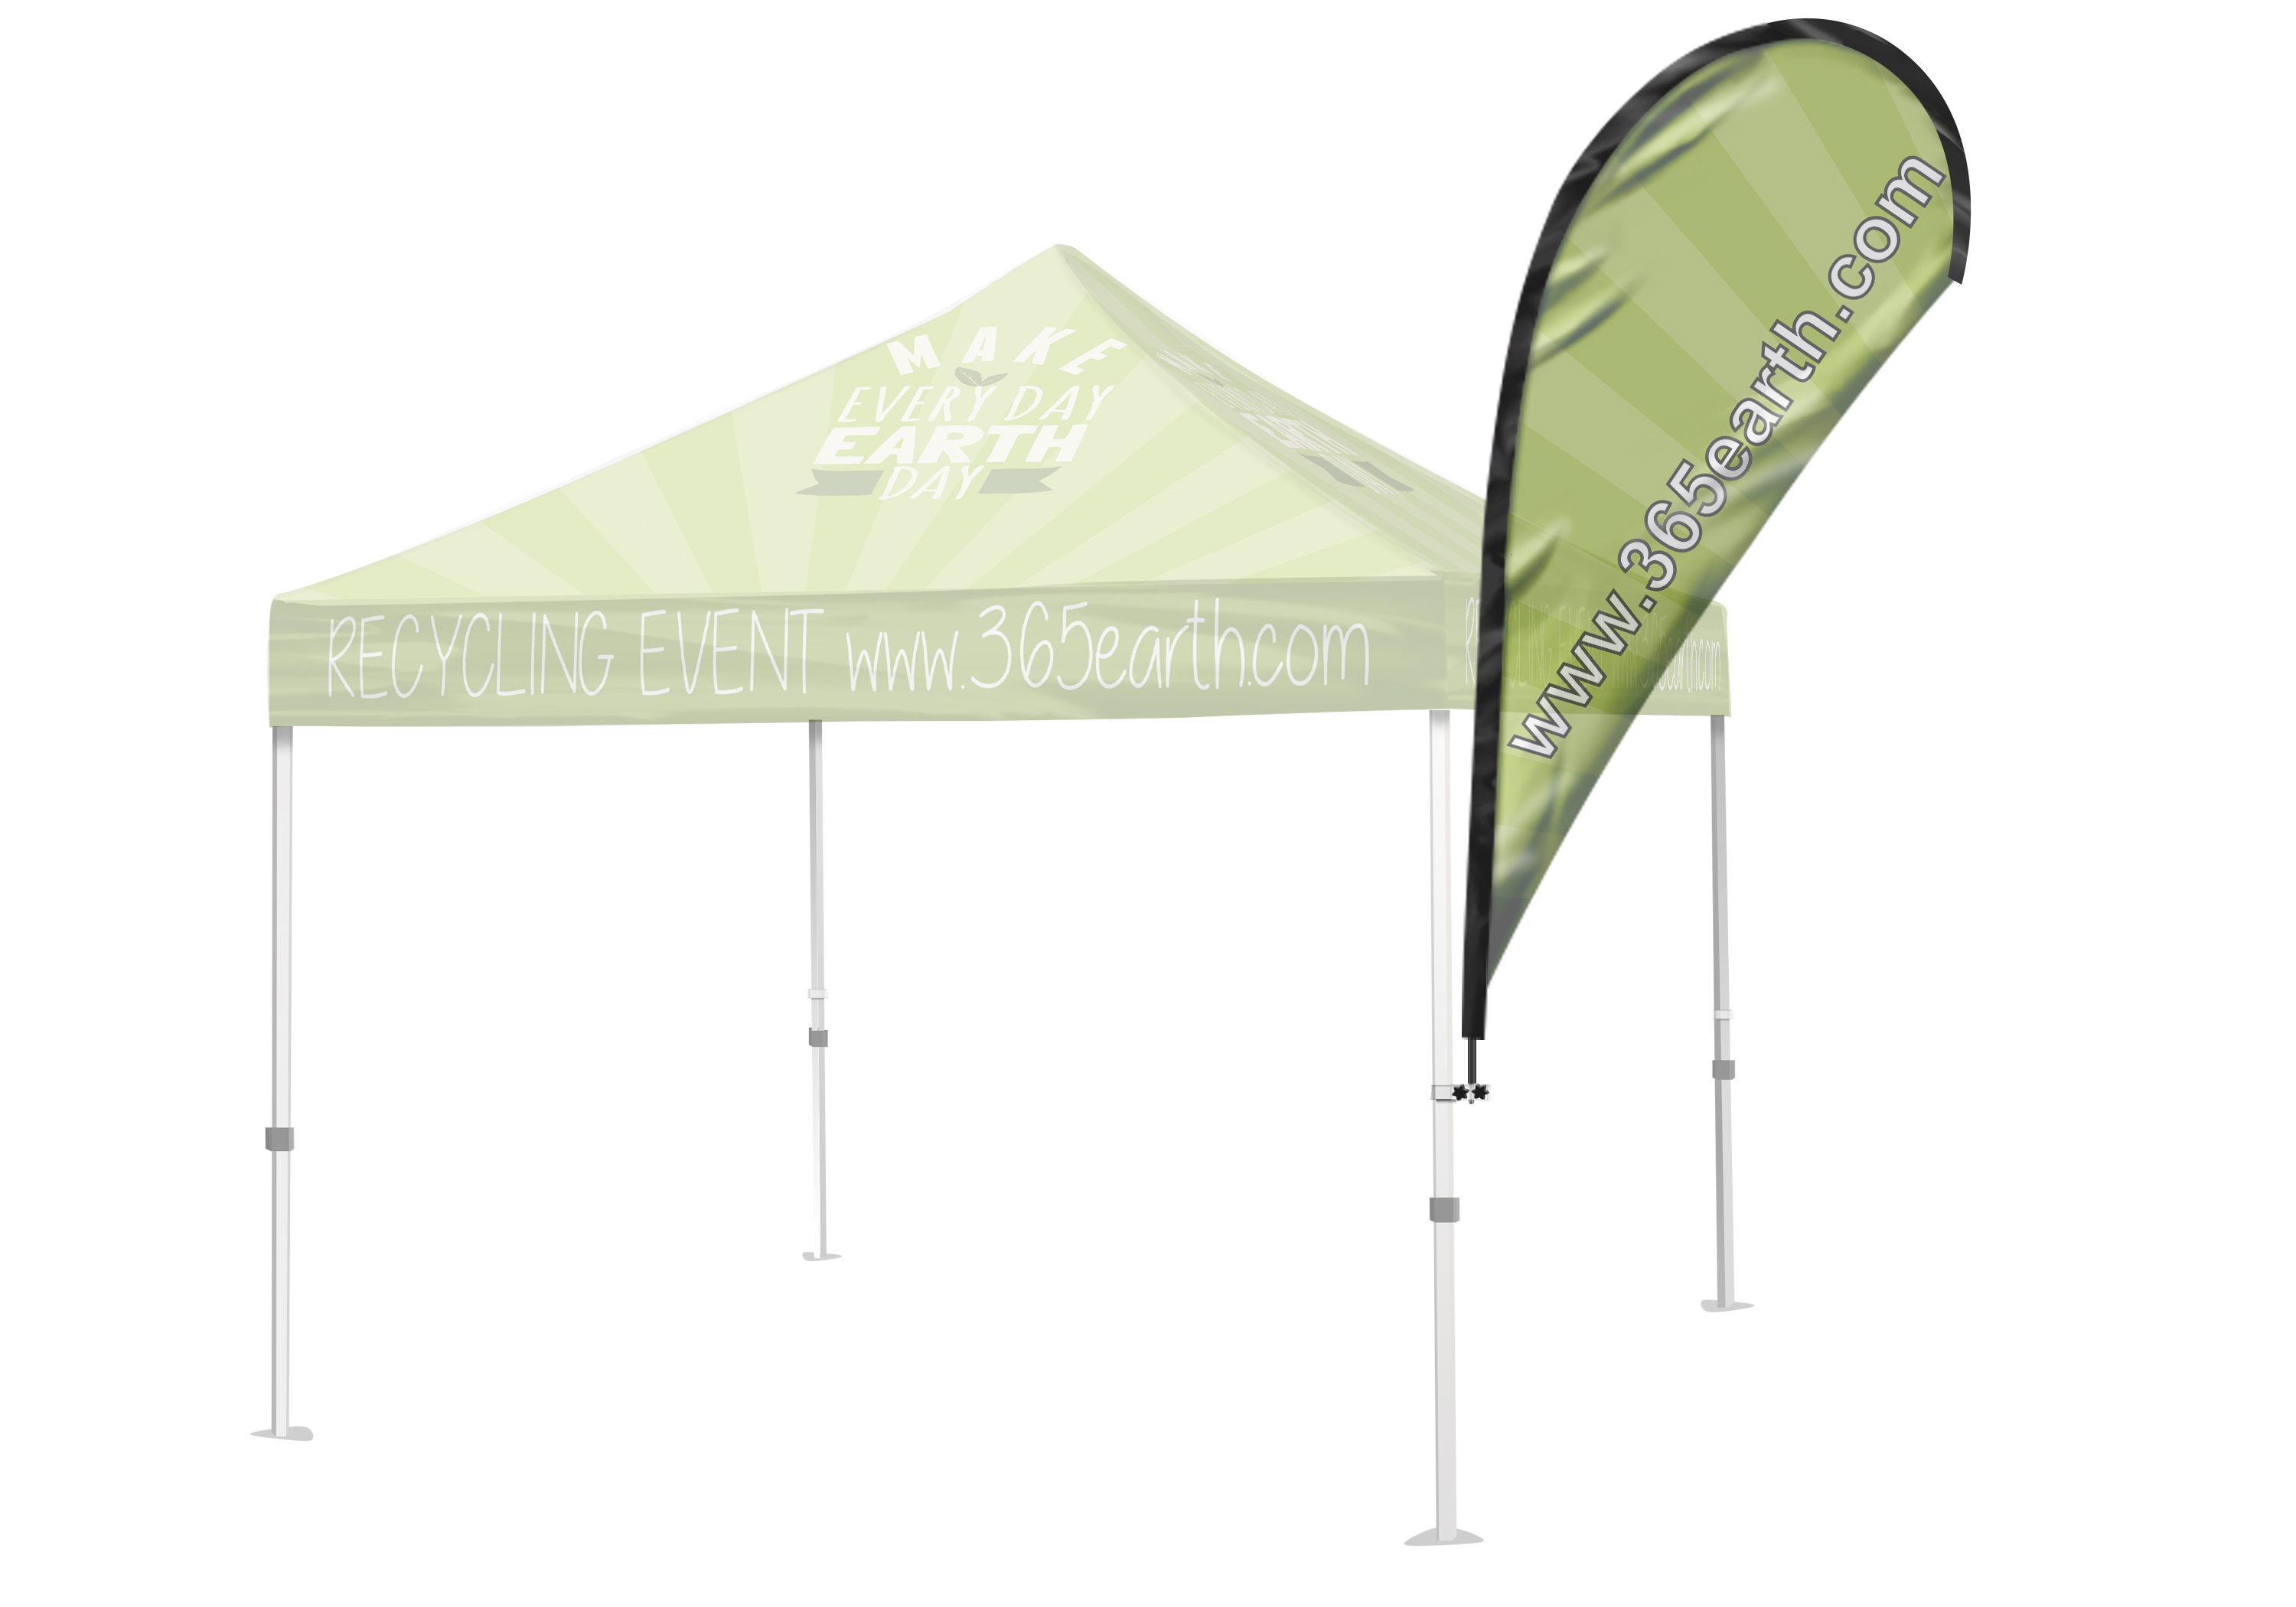
  • For Advertising Flags, leave a safety margin of at least 2" from all edges to prevent text from being cut off/hemmed over. If you have any questions about file set-ups, please contact us via phone 1-888-739-8501or email at info@b2sign.com .
Should I remove Hidden Layers in my artwork?+
Yes. Just like transparencies, hidden layers in artwork can have unpredictable results when printed. These results are not always visible in previews. We highly suggest that you remove any layers, objects, and effects that are not meant to appear in the final graphic or you may flatten the artwork or submit as a jpeg.
How do I submit multiple artworks for a single B2Sign order?+
At this time, B2Sign can only accept one artwork file per job. Please create one job per artwork you intend to submit. This can be done quickly in the product page by adding more jobs.
What file types does B2Sign accept?+
We only accept these file formats: JPG and PDF (single page) Please make sure your artwork size is the same exact size of your order. Also,do not include any bleed or crop marks.
What file specifications does B2sign recommend for fast processing?+
We accept JPG and single page PDF. We suggest 150 dpi resolution at 100% of the final print size. Also do not include any bleed or crop marks.
Should I include any fonts with my files?+
No. Instead, please ensure that all fonts are outlined prior to file upload. If you are using Photoshop, please provide flattened file only.
Do I need bleed or crop marks for my files?+
No bleed or crop marks. Make your artwork match the size requested on the order. We are not responsible for crop marks or registration marks printed in the final product.
My pdf file contains transparencies, will it print ok?+
It is always best to flatten any file you send to B2Sign as transparency issues can be very difficult to predict. B2sign considers flattening transparency part of basic file setup and will not check for this issue.
What is the difference between raster and vector?+
Raster-based artwork such as photos or flattened artwork (from Adobe Photoshop) are made up of tiny squares (pixels), and depending on your resolution and/or final output size desired, the file could have a low quality end result. Any raster elements you wish to use should have a high enough resolution (DPI) before considering them for your large format product. Vector-based artwork such as illustrations or clip-art style elements (from Adobe Illustrator) is made with mathematical calculations, and can be scaled up to any size without losing quality. Keep in mind that any effects used in Adobe Illustrator are raster-based and have transparency: this greatly adds to file size and you must have correct settings in your "Document Raster Effects Settings" to ensure best output for these effects. If you are doing a photo-quality print on a 36" x 48" poster, and leave the raster effects settings at default 72 DPI - you may see tiny squares in your drop shadows, as opposed to a smooth shadow.
Does B2sign print borders?+
You may include borders in your artwork, but B2sign does not recommend it. Borders may vary from batch to batch making exact cuts very difficult. We will not reprint an order with borders of varying widths.
What is overprint, and how can it ruin my file?+
Overprint is used to intentionally overlap inks for a number of reasons. We suggest that you turn all overprint objects off before submitting, for it may cause unexpected results.
What settings should I create my PDF in Adobe Illustrator?+
For Illustrator CS2 and above it is recommended to use the "High Quality Print" preset.
Flag Templates+
Note: Please download and use our most recent flag templates. When setting up flag artwork please ensure to include full bleed.
Safety Margin: Please keep important graphic content within the inner line. If you do not follow the template your order may be placed on hold.
Pole Placement: Please refer to the Product picture of each flag to see the placement of the pole on the print. Design your artwork accordingly, and match your artwork to the flag template(s) shape. See Templates Below:(Template User Guide)
FlagSize pdf
PDF
psd
Photoshop
Angled
Angled
X-Large

Single Sided Print Thru

Single Sided Print Thru Reverse

Double Sided

Single Sided Print Thru

Single Sided Print Thru Reverse

Double Sided

Large

Single Sided Print Thru

Single Sided Print Thru Reverse

Double Sided

Single Sided Print Thru

Single Sided Print Thru Reverse

Double Sided

Medium

Single Sided Print Thru

Single Sided Print Thru Reverse

Double Sided

Single Sided Print Thru

Single Sided Print Thru Reverse

Double Sided

Small

Single Sided Print Thru

Single Sided Print Thru Reverse

Double Sided

Single Sided Print Thru

Single Sided Print Thru Reverse

Double Sided

Convex
Convex
X-Large

Single Sided Print Thru

Single Sided Print Thru Reverse

Double Sided

Single Sided Print Thru

Single Sided Print Thru Reverse

Double Sided

Large

Single Sided Print Thru

Single Sided Print Thru Reverse

Double Sided

Single Sided Print Thru

Single Sided Print Thru Reverse

Double Sided

Medium

Single Sided Print Thru

Single Sided Print Thru Reverse

Double Sided

Single Sided Print Thru

Single Sided Print Thru Reverse

Double Sided

Small

Single Sided Print Thru

Single Sided Print Thru Reverse

Double Sided

Single Sided Print Thru

Single Sided Print Thru Reverse

Double Sided

Teardrop
Teardrop
X-Large

Single Sided Print Thru

Single Sided Print Thru Reverse

Double Sided

Single Sided Print Thru

Single Sided Print Thru Reverse

Double Sided

Large

Single Sided Print Thru

Single Sided Print Thru Reverse

Double Sided

Single Sided Print Thru

Single Sided Print Thru Reverse

Double Sided

Medium

Single Sided Print Thru

Single Sided Print Thru Reverse

Double Sided

Single Sided Print Thru

Single Sided Print Thru Reverse

Double Sided

Small

Single Sided Print Thru

Single Sided Print Thru Reverse

Double Sided

Single Sided Print Thru

Single Sided Print Thru Reverse

Double Sided

Rectangle
Rectangle
Large

Single Sided Print Thru

Single Sided Print Thru Reverse

Double Sided

Single Sided Print Thru

Single Sided Print Thru Reverse

Double Sided

Medium

Single Sided Print Thru

Single Sided Print Thru Reverse

Double Sided

Single Sided Print Thru

Single Sided Print Thru Reverse

Double Sided

Small

Single Sided Print Thru

Single Sided Print Thru Reverse

Double Sided

Single Sided Print Thru

Single Sided Print Thru Reverse

Double Sided

Econo
Econo
Medium

Single Sided Print Thru

Single Sided Print Thru Reverse

Single Sided Print Thru

Single Sided Print Thru Reverse

Table Cover Templates+
Trade Show Product Templates+
See Templates Below: (Template User Guide)
Trade Show Products pdf
PDF
psd
Photoshop
Trade Show Products pdf
PDF
psd
Photoshop
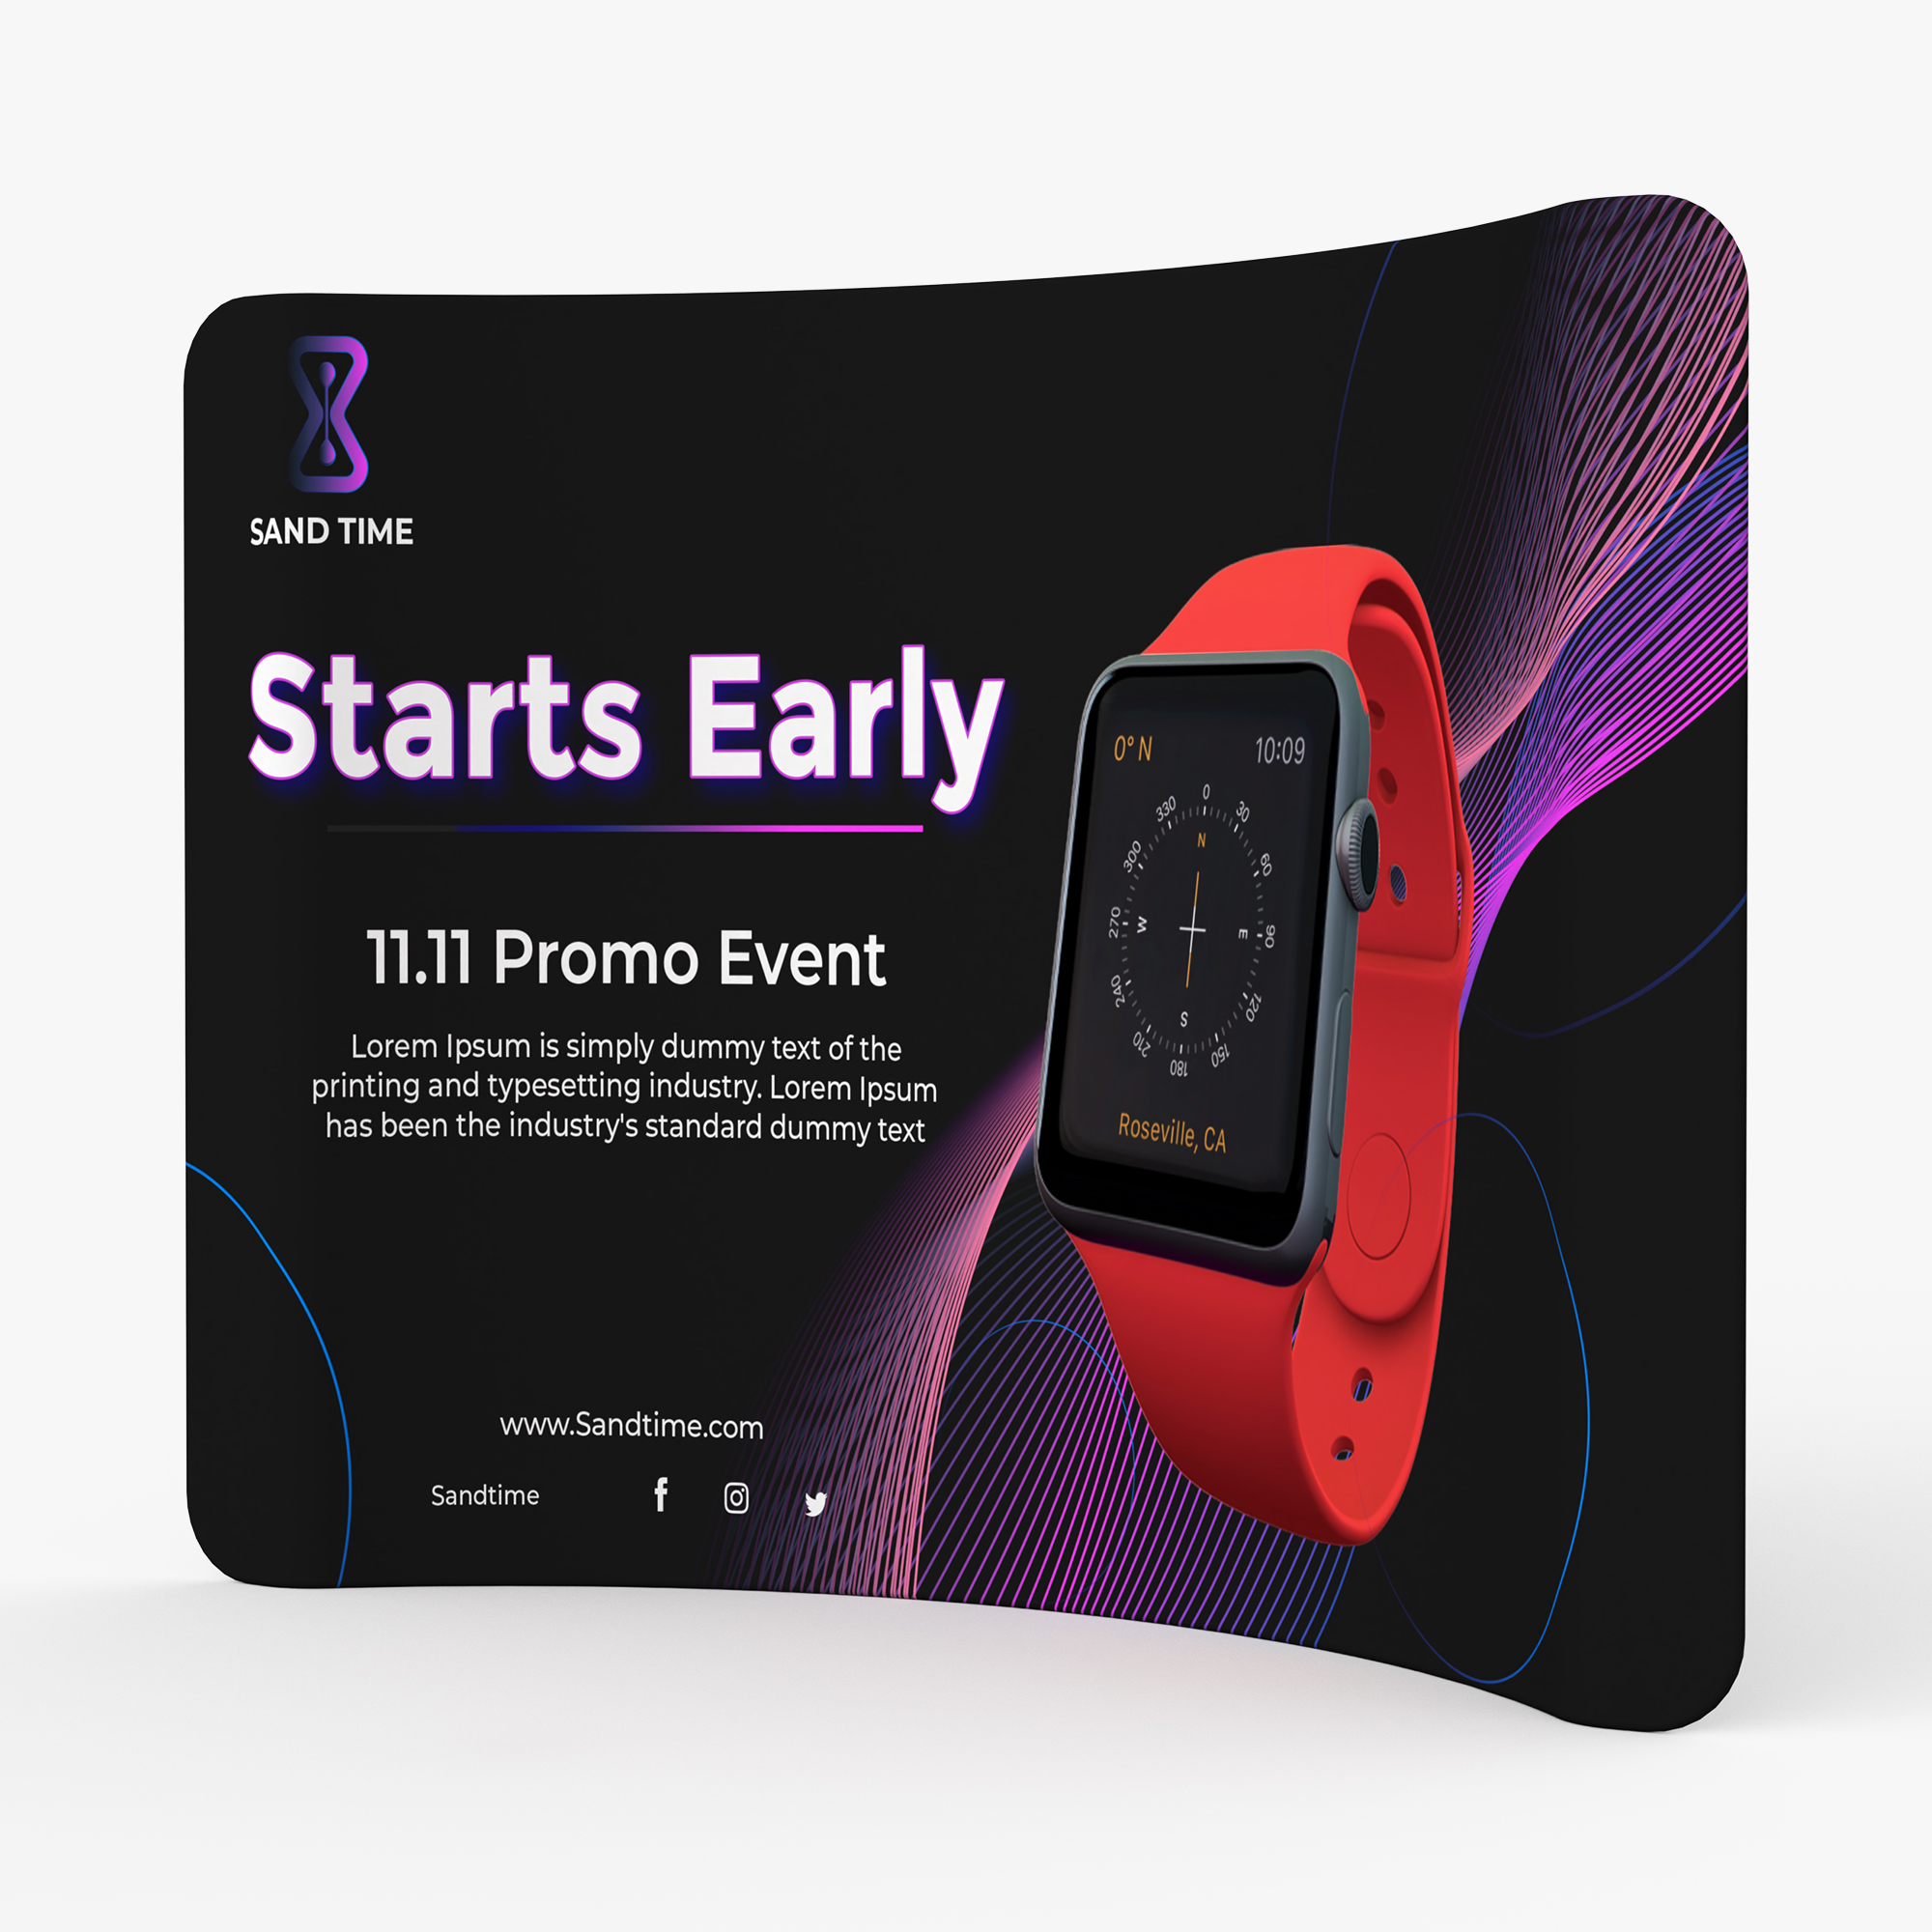
10ft-tf-curve

Tension Fabric Display

Curve Shape

6' Curve Shape

8' Curve Shape

10' Curve Shape

6' Curve Shape

8' Curve Shape

10' Curve Shape

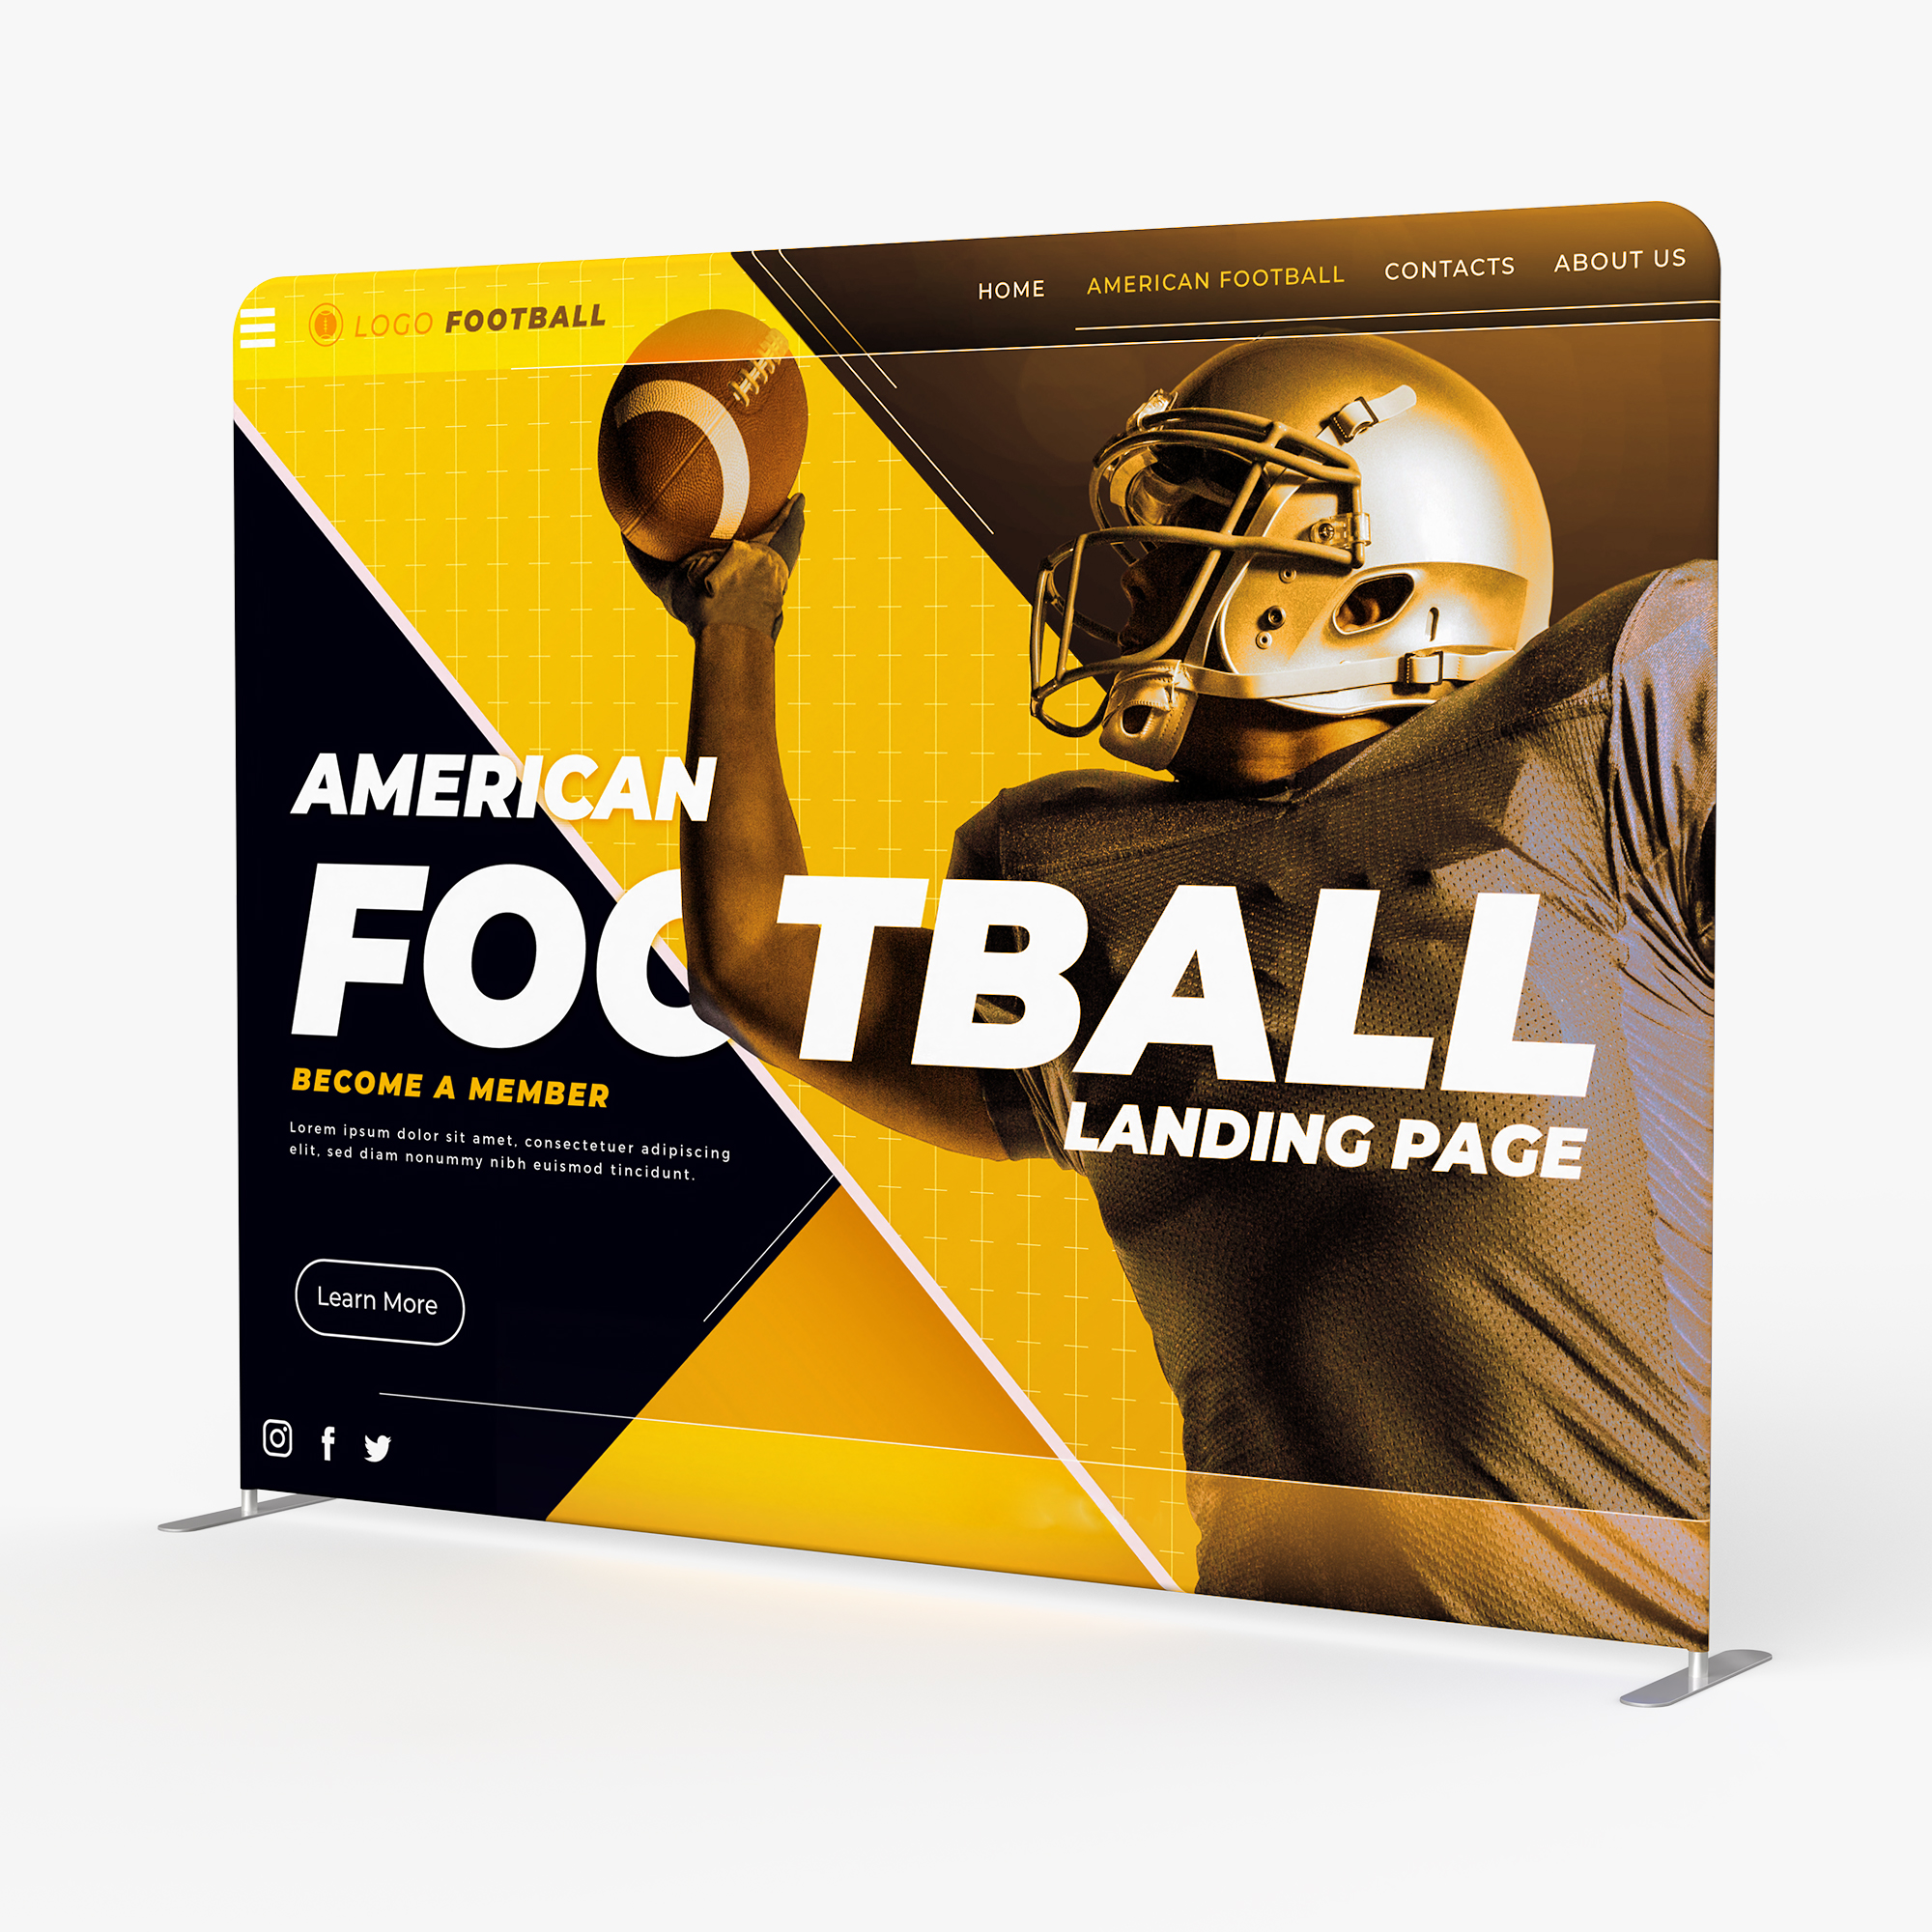
10ft-tf-straight

Tension Fabric Display

Straight Shape

8' Straight Shape

10' Straight Shape

20' Straight Shape

8' Straight Shape

10' Straight Shape

20' Straight Shape

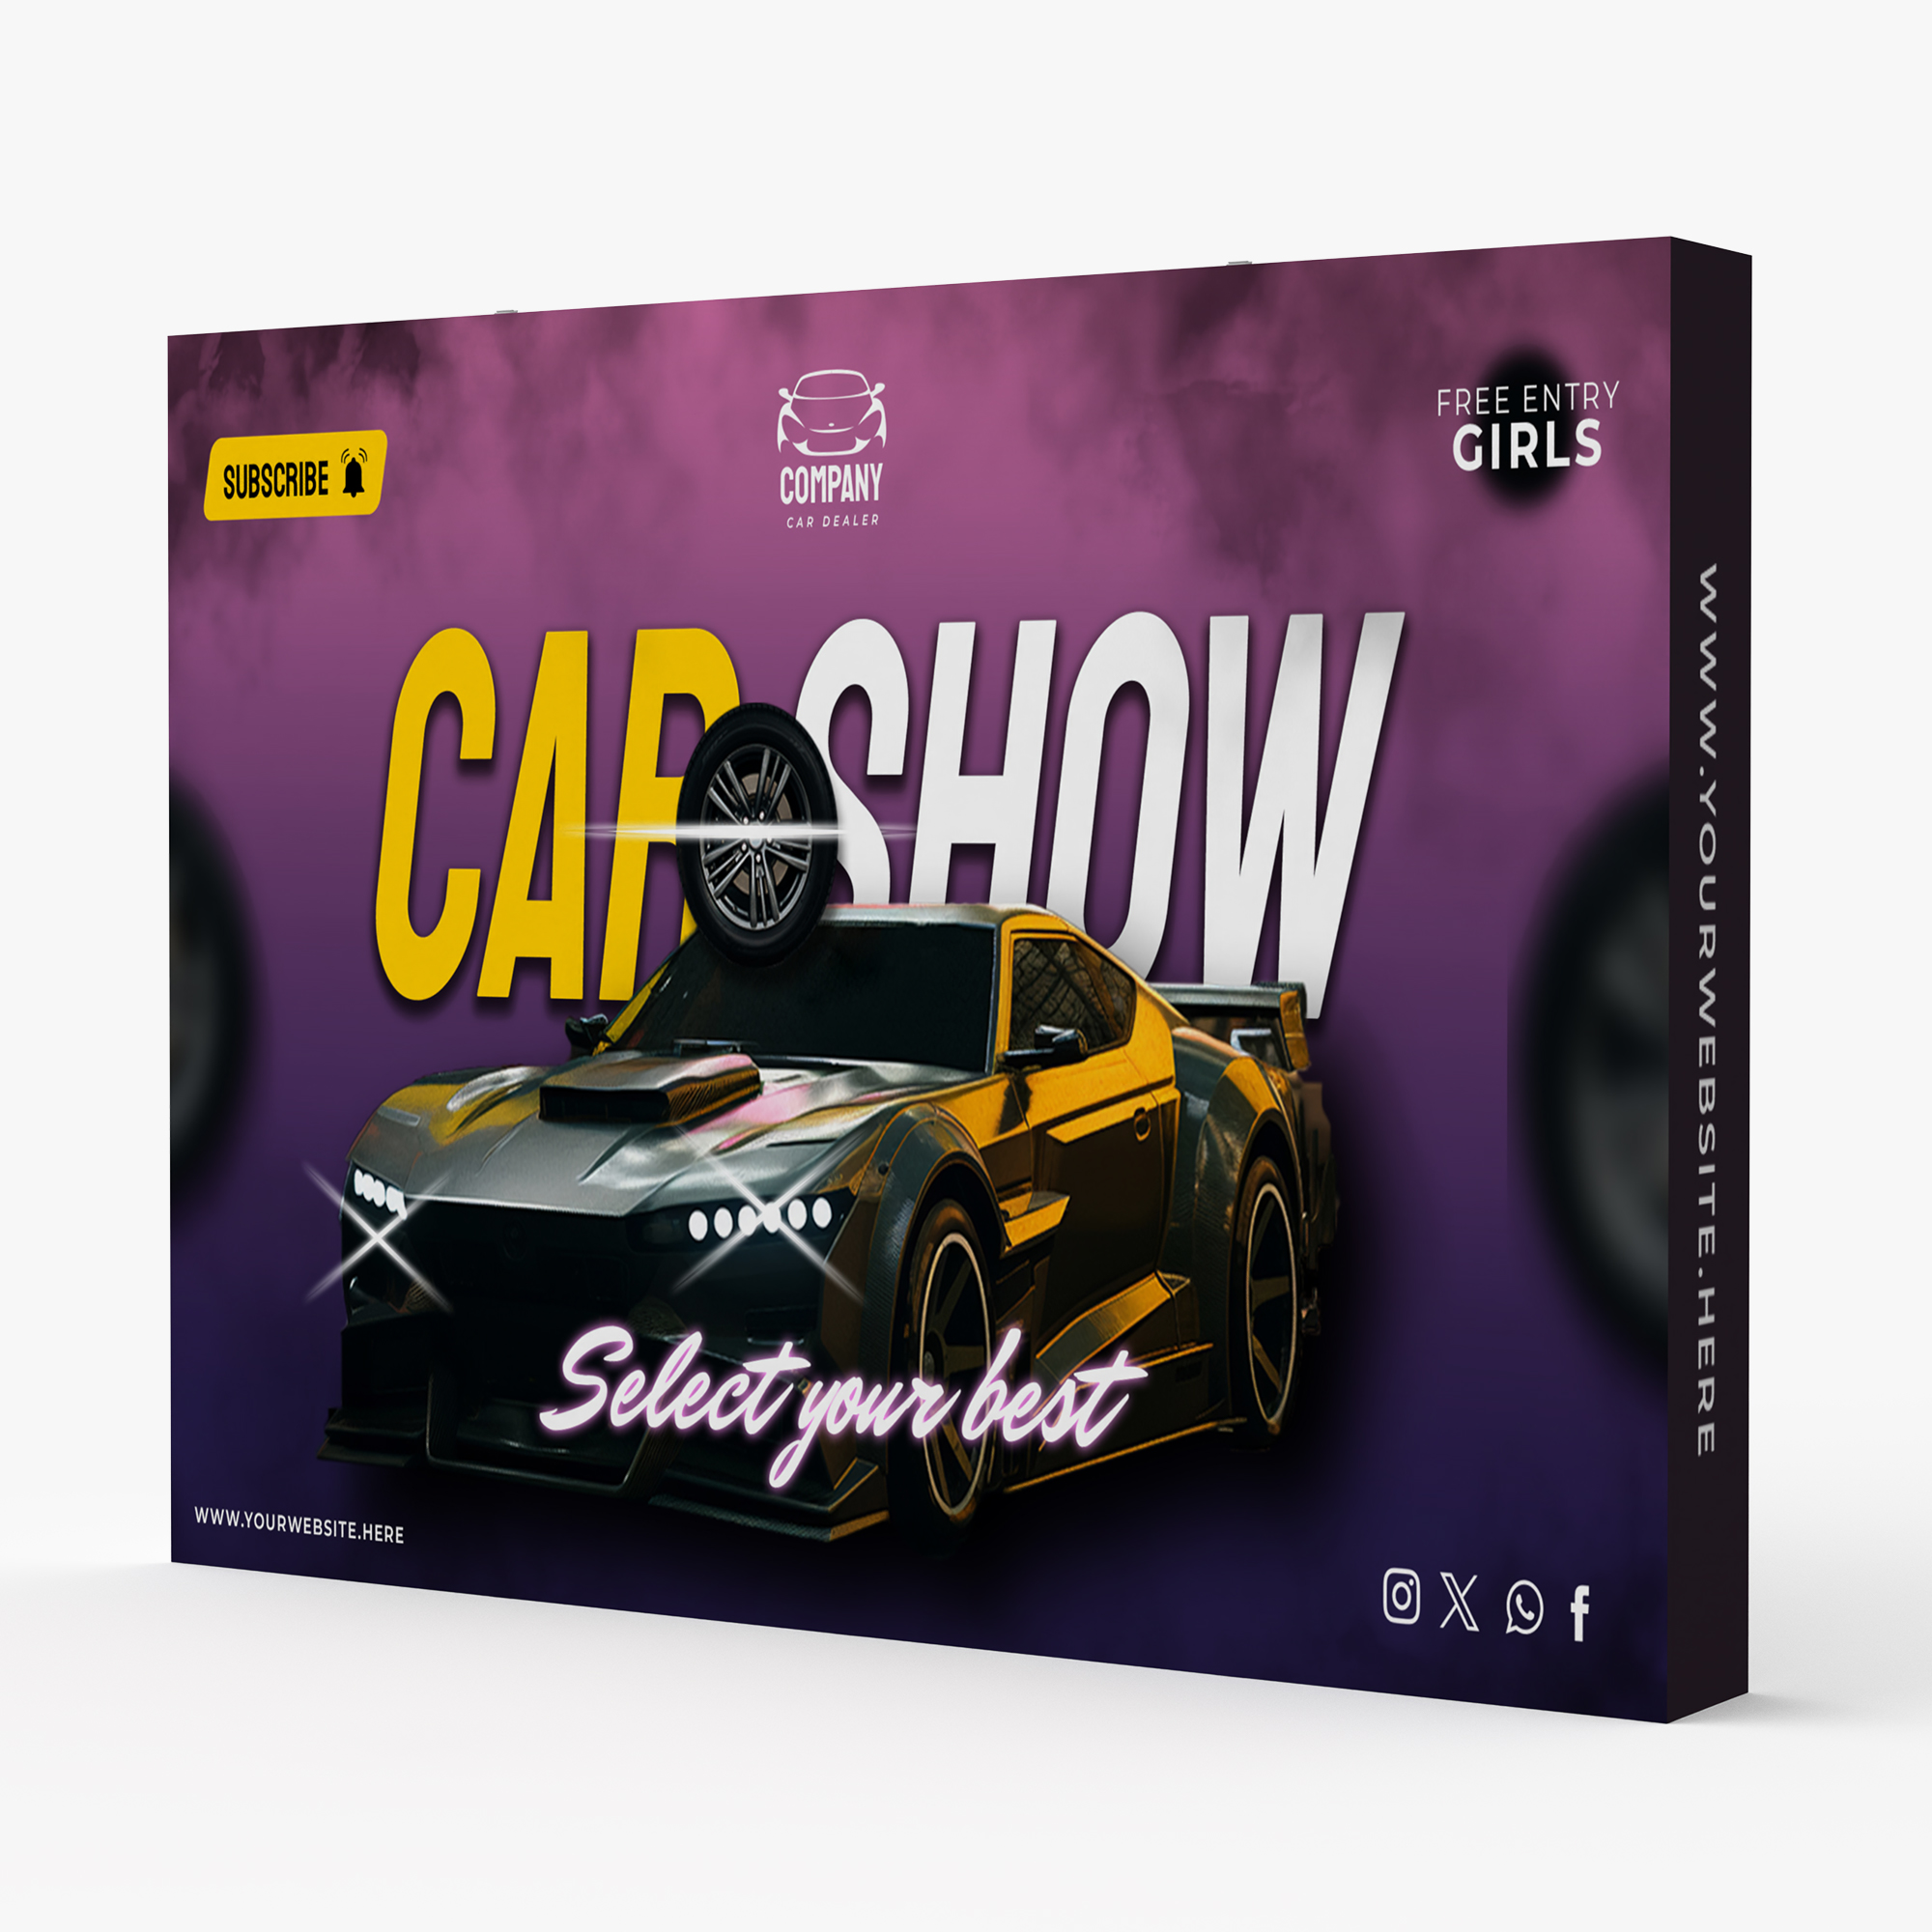
10ft-popup-curve

Velcro Fabric Pop Up Display

Curve Shape

8' Curve Shape

10' Curve Shape

8' Curve Shape

10' Curve Shape

10ft-popup-stragith

Velcro Fabric Pop Up Display

Straight Shape

8' Straight Shape

10' Straight Shape

8' Curve Shape

10' Curve Shape

10ft-tf
Podium

Podium

Podium

  
Event Tent Templates+
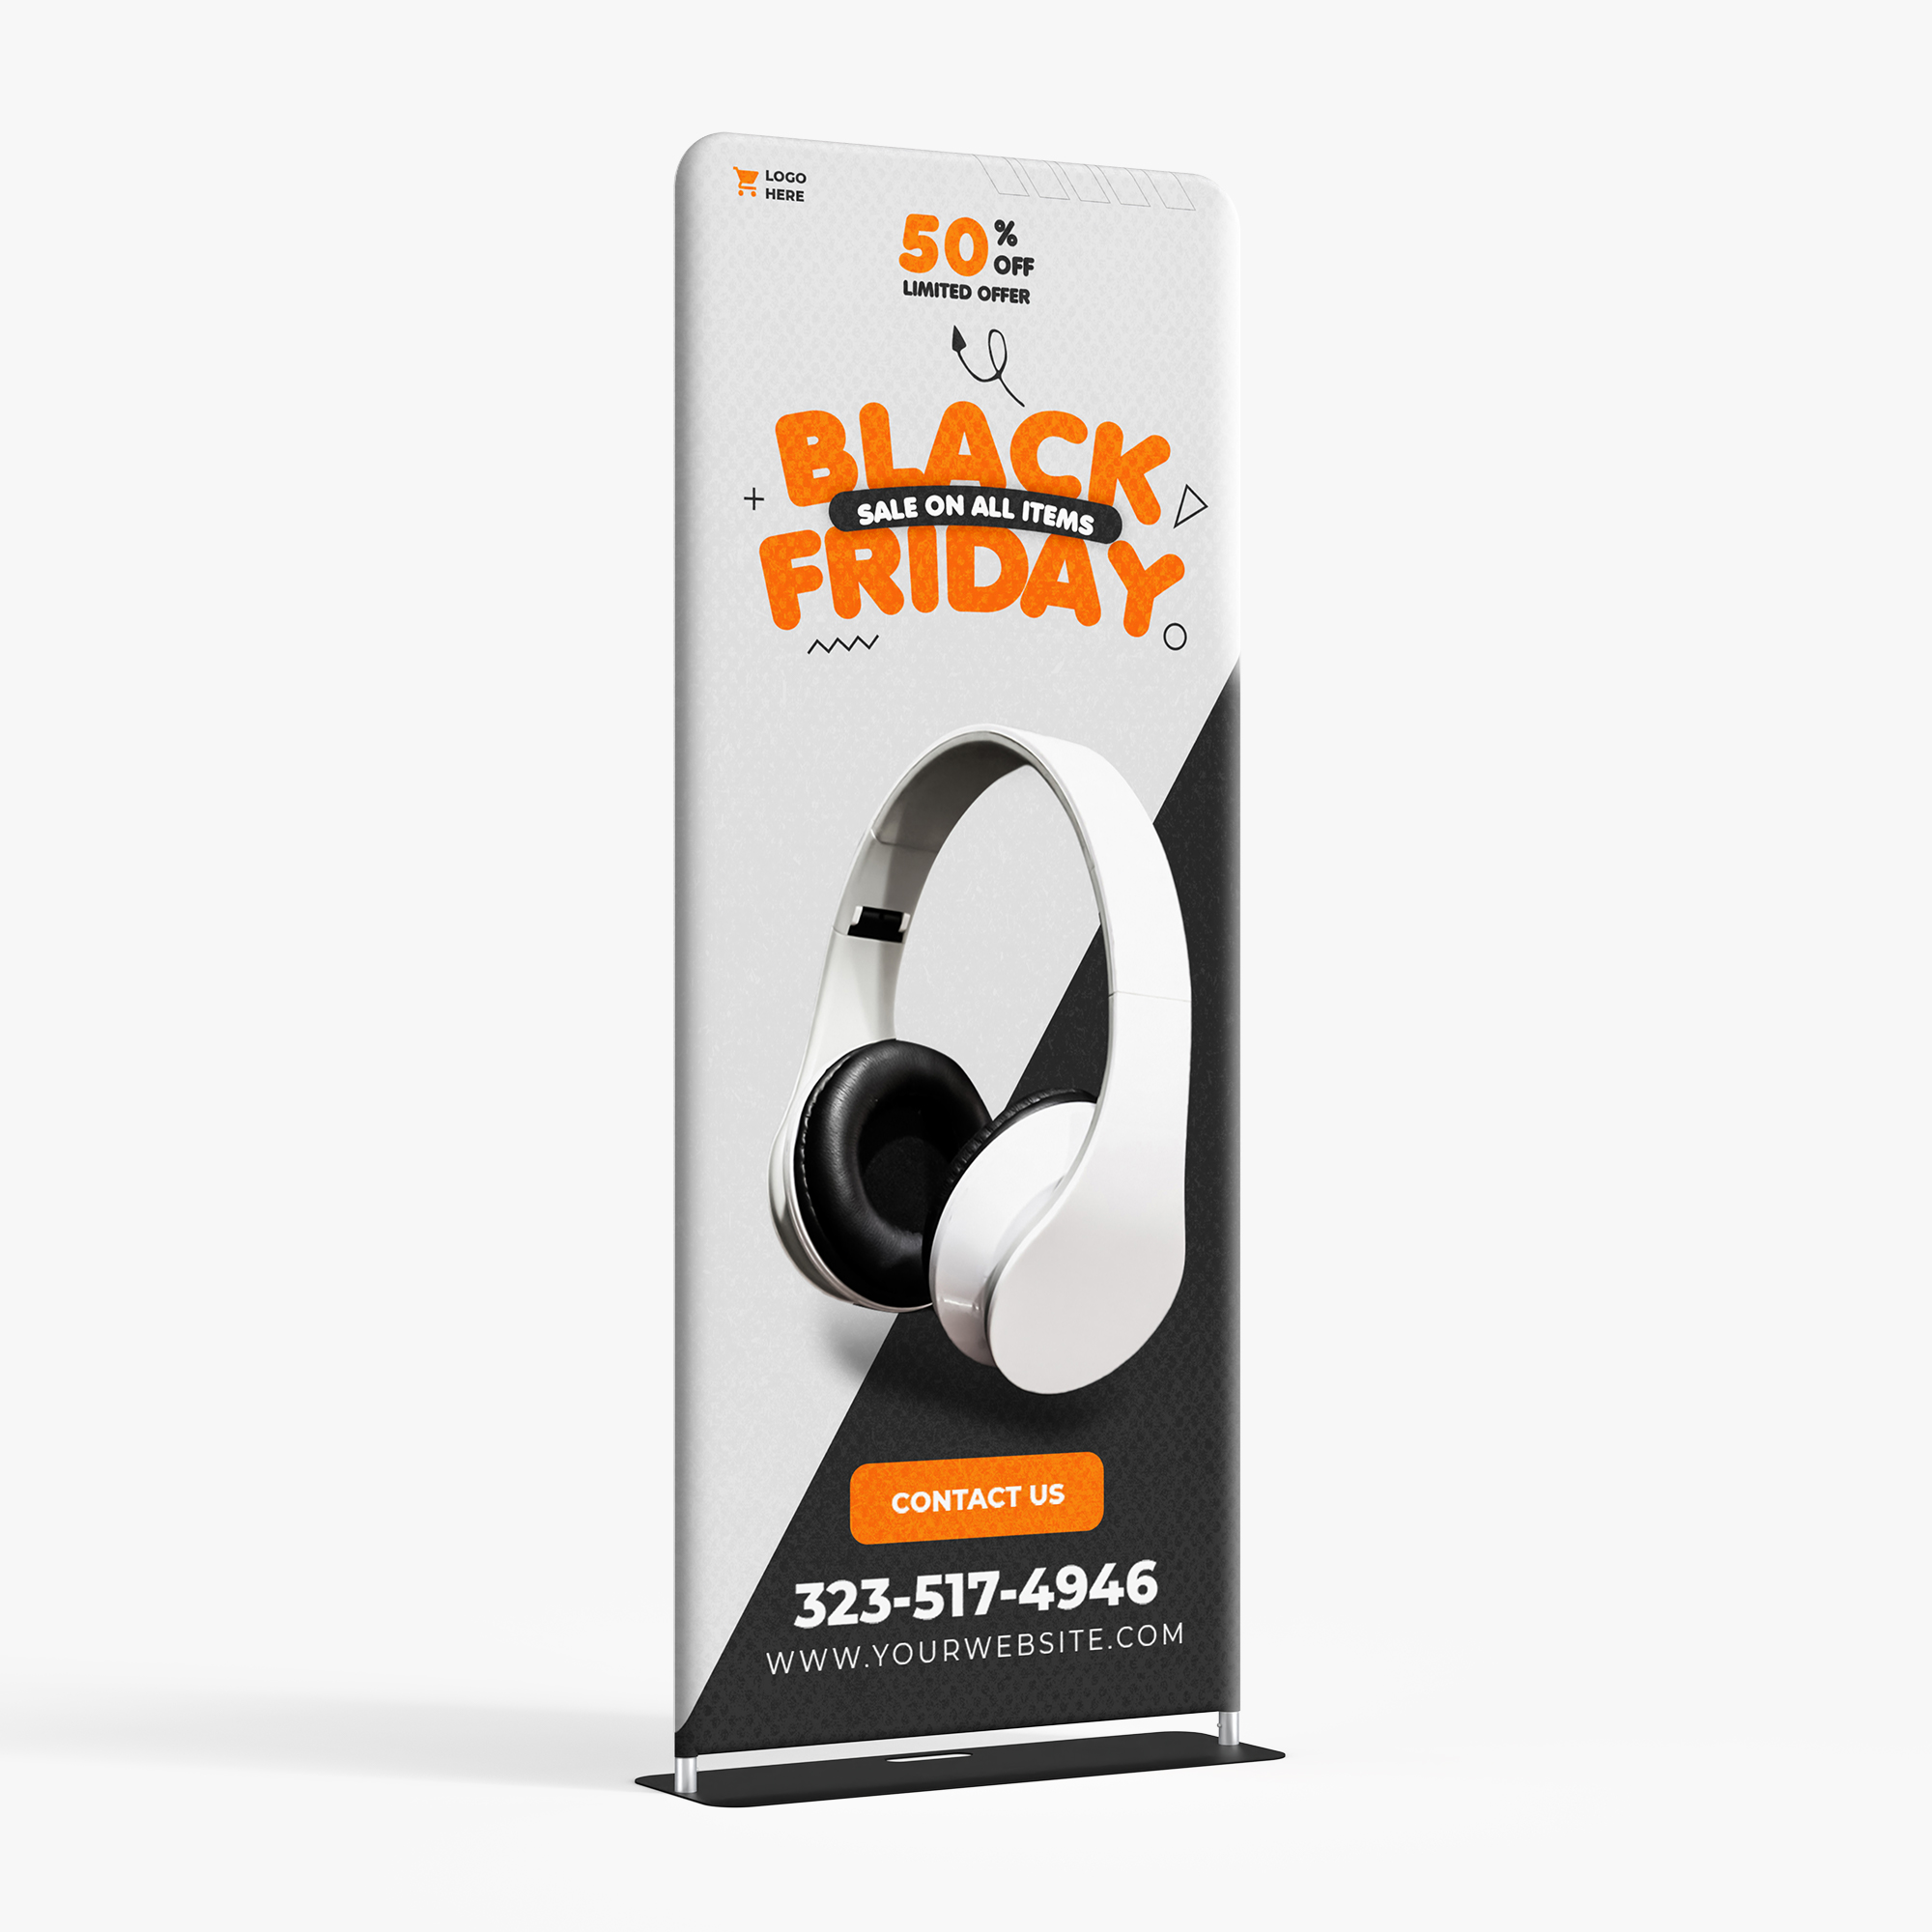
Tension Fabric Stand Templates+
See Templates Below:(Template User Guide)
Tension Fabric Stand 36"x90"pdf
PDF
Tension Fabric Stand 48"x90"pdf
PDF
tfs-36x90

36"x90"

Download

tfs-48x90

48"x90"

Download

How do I create a smooth gradient?+
When creating gradients in your artwork, we highly suggest creating those gradients in Photoshop, and not in Illustrator. the reason being, is that Illustrator is a vector based program and doesn't raster the gradient the same way Photoshop does, and it will create "Steps" in the gradient that look like lines in the final print. The only way to cure this is to create the gradients in Photoshop and then either import the gradient into illustrator, or just completely design the artwork within Photoshop. Please see the attached photos, you can see how much smoother the gradient is in the Photoshop image vs the Illustrator image.
Can I submit an encrypted pdf?+
No. Encrypted PDF files may result in a misprint or your order being placed on hold. Please make sure all PDFs submitted are not encrypted, all fonts are outlined and all images are embedded.